The removal and replacement of insulation on chilled water pipes, or any other type of pipe, is a straightforward but essential task in maintaining the efficiency of your HVAC system. Proper insulation prevents energy loss, reduces condensation, and protects pipes from external temperature fluctuations. Here’s a step-by-step guide for safely and efficiently removing and replacing insulation on chilled water pipes.
Before starting the removal and replacement process, ensure you have the necessary tools, materials, and safety equipment:
Before starting work on the pipes:
Depending on the type of insulation (fiberglass, foam, rubber, etc.), the removal process may vary slightly. Here’s how you can proceed:
Once the old insulation is removed, inspect the condition of the chilled water pipes:
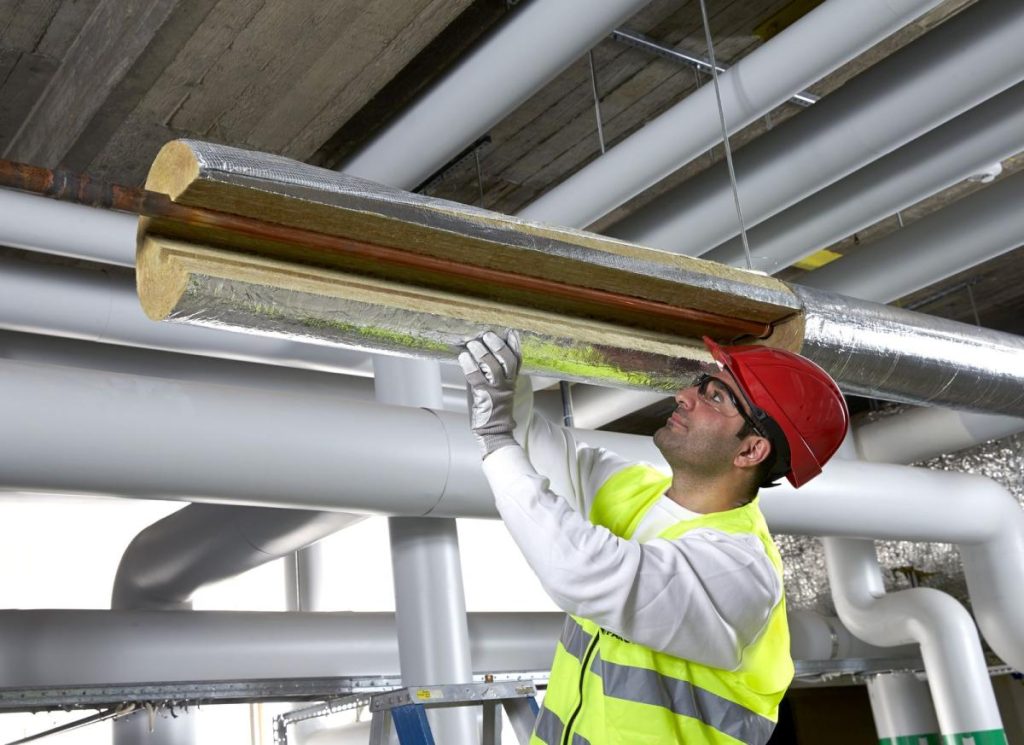
Now that the pipes are clean and inspected, it’s time to install the new insulation. The type of insulation material you choose depends on your system’s requirements. Here’s how to install the most common types:
Once the new insulation is installed, you can begin to recommission the chilled water system: